One of the most common questions Houck Remodeling gets from a customer is: “What should I expect this remodeling process to look like?” or “How does all this work?” Valid questions, so let me explain our process:
The homeowner has decided to do “x” to their house (in this case a major kitchen remodel) so they have me out to measure everything up and get them a quote. Our estimates run in 2 phases. The first is an estimate that includes “allowances” for certain items that haven’t been delineated yet (countertop style & color or cabinet color and style, etc.), it may also include trade sub-contractors, like electricians or plumbers. Phase 1 is normally a very good base number for the project. At this point, the potential client comes into our showroom to make some design choices and then gets sent out to make final product selections at the vendors we work with (flooring, tile, quartz-granite, appliances). Once this occurs Phase 2 has started. We will have another meeting at the client’s house, this time with the sub-contractors being used. The purpose of this meeting is to get the “subs” to refine the allowances that are in the estimate, refine those numbers up or down, and allow the homeowners to meet the sub-contractors that will be coming into their home. After all the products are selected, we have the final project cost (outside of unseen issues and change orders), a signed contract, and deposit received.
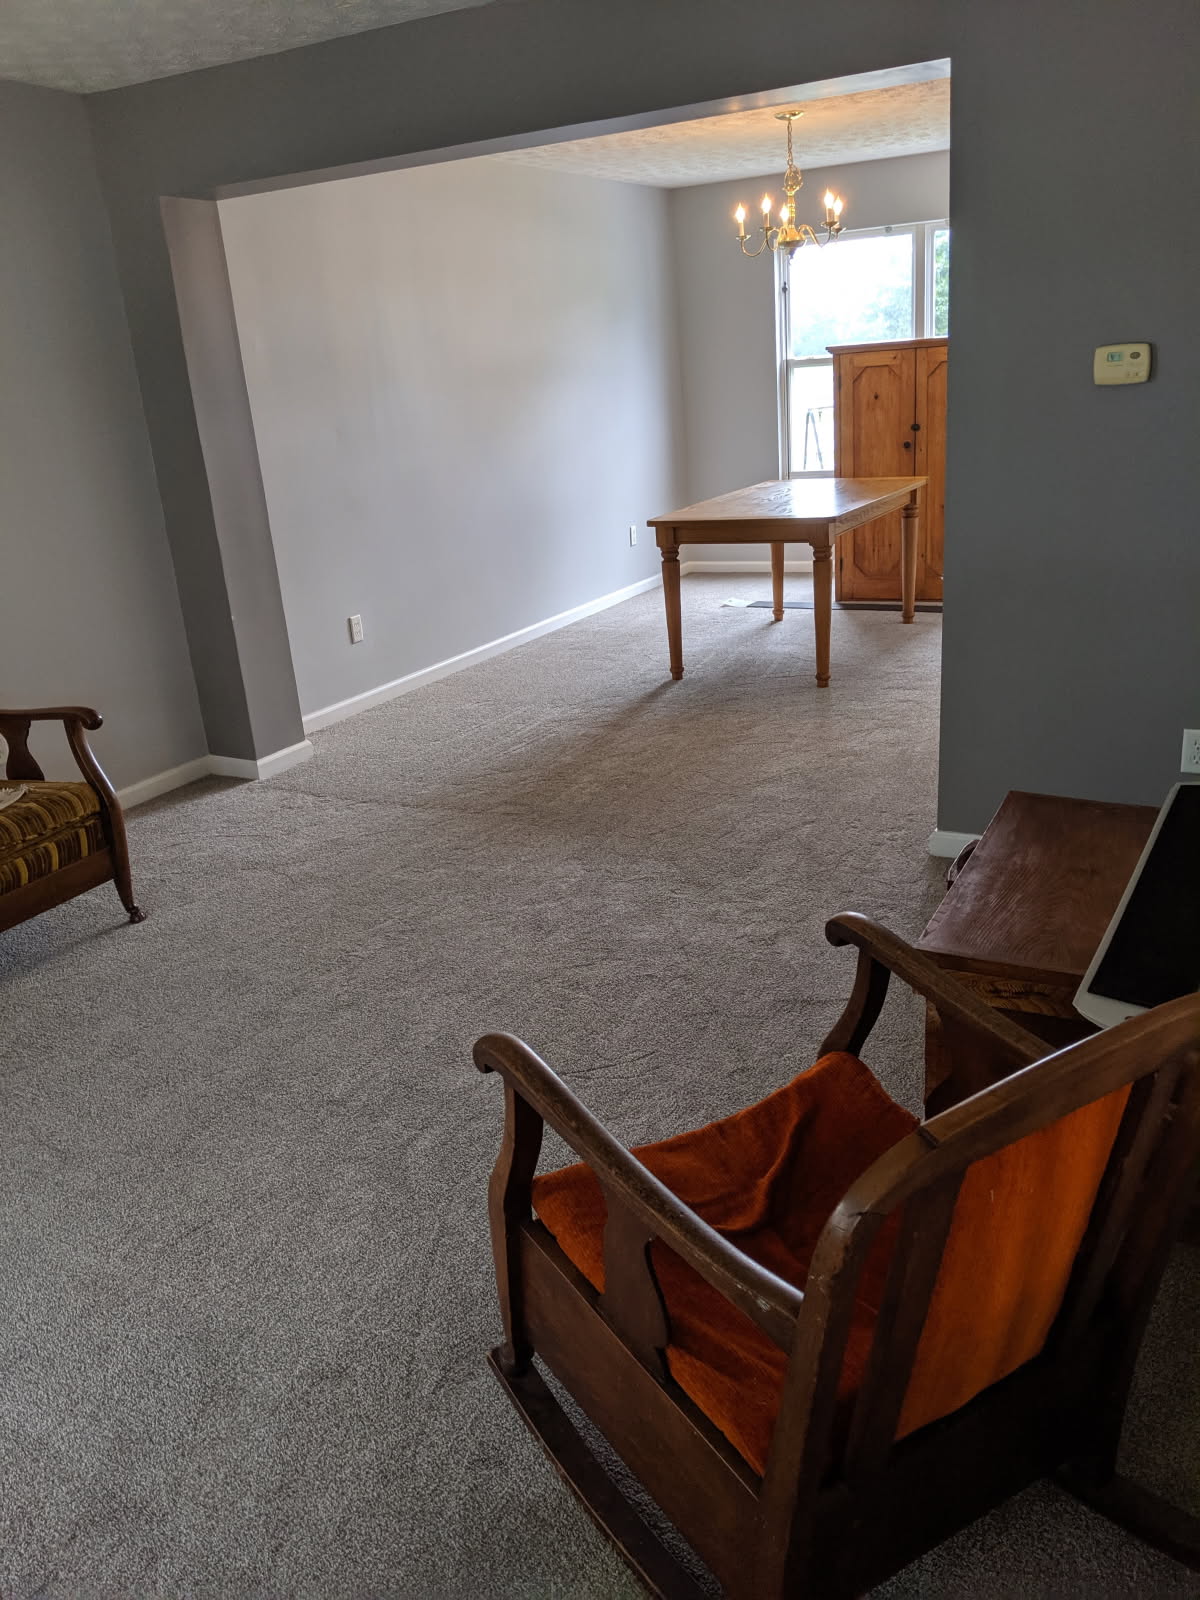
This kitchen was really a 12’x15’ room and the dining room was around 12’x12’. The owners have a very large family and gathering in just the kitchen wasn’t working. The goal was to remove the wall that the stove is on and open the kitchen into the dining room. So, the scope of this remodel became quite extensive. The flooring was being saved in the existing kitchen area. All the cabinetry was going to be removed (some reused as storage in the basement), the carpet in the dining room, and the wall removed. All of the appliances were being relocated (which means water lines, drains, and electrical all had to be relocated.
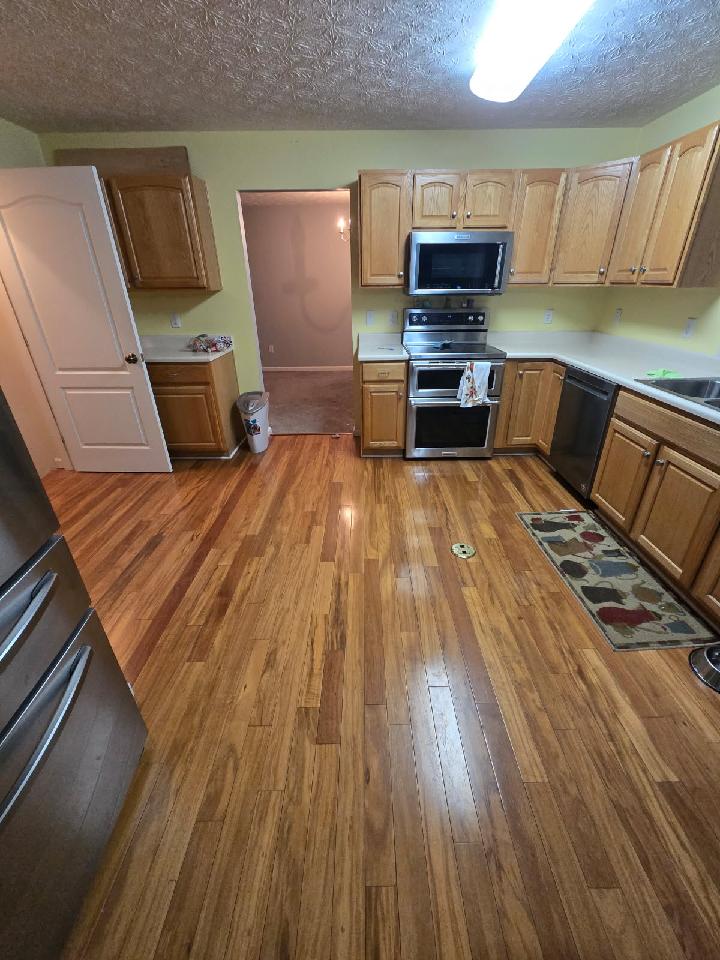
As you can see in the above photo there is also a floor outlet in the middle of the work area that has to be removed, and the floor patched back in. On this kitchen we had several sub-contractors.
Here’s the list of sub-contractors we had:
- Electrical
- Plumbing
- Flooring
- Counter-top installer/fabricator
- Painter
A total of five other contractors, not including us (we filled multiple roles; demo, build back, cabinet installers, finish carpenters, drywallers, designer, and general contractor). All of which must be coordinated and scheduled Over the course of 5/6 weeks.
Week 1 was demo, rough electrical & plumbing…then inspections. Once the inspectors were done (everything passed on the first call), we moved on to…
Week 2: flooring and build-back. The flooring was original to the home, and quite a challenge to find a perfect match, but my flooring contractor did. He had to source it from a company out of St. Louis (luckily, we were able to get the last pallet of this type of flooring…in the country). Since the inspections were done and we passed, all the walls could be closed up with drywall and finished to receive paint. The flooring was woven into the original and as the flooring guys wrapped up, my guys were wrapping up the drywall work.
Week 3-4: Cabinets, Templating, Trim; week 3 brought the most drastic change to the project…cabinets. The space had been opened and flooring installed but once the new flooring was installed, we immediately covered it with “Ram-board” (a cardboard material used to protect surfaces), so the “wow” was only present for a few hours, then covered up. As the cabinets were installed, the size of the change became apparent and a visual of the functionality could be seen in real life as opposed to 3-D renderings, and sketches. Prior to the job ever started I needed to co-ordinate with the countertop installer/fabricator. We had to get a date on the calendar for templating. While this date is flexible, if changed it can drastically change the installation date. The installation date is built out about 7-10 days after the templating date. If we miss the templating date, there is a real possibility that we will miss the installation date due to fabrication being pushed back. If this were to happen it could add another week or two to the installation date and push everything out. Keeping the projected schedule is very important to the flow of the job. Templating occurred at the end of the week. As we rolled into week 4, cabinet installation, trim, and pulls/handles were wrapped up as the painters started. The owners repainted most of the first-floor walls, ceilings, trim, and doors due to disturbances on many surfaces. Finish painting stretched into the following week.
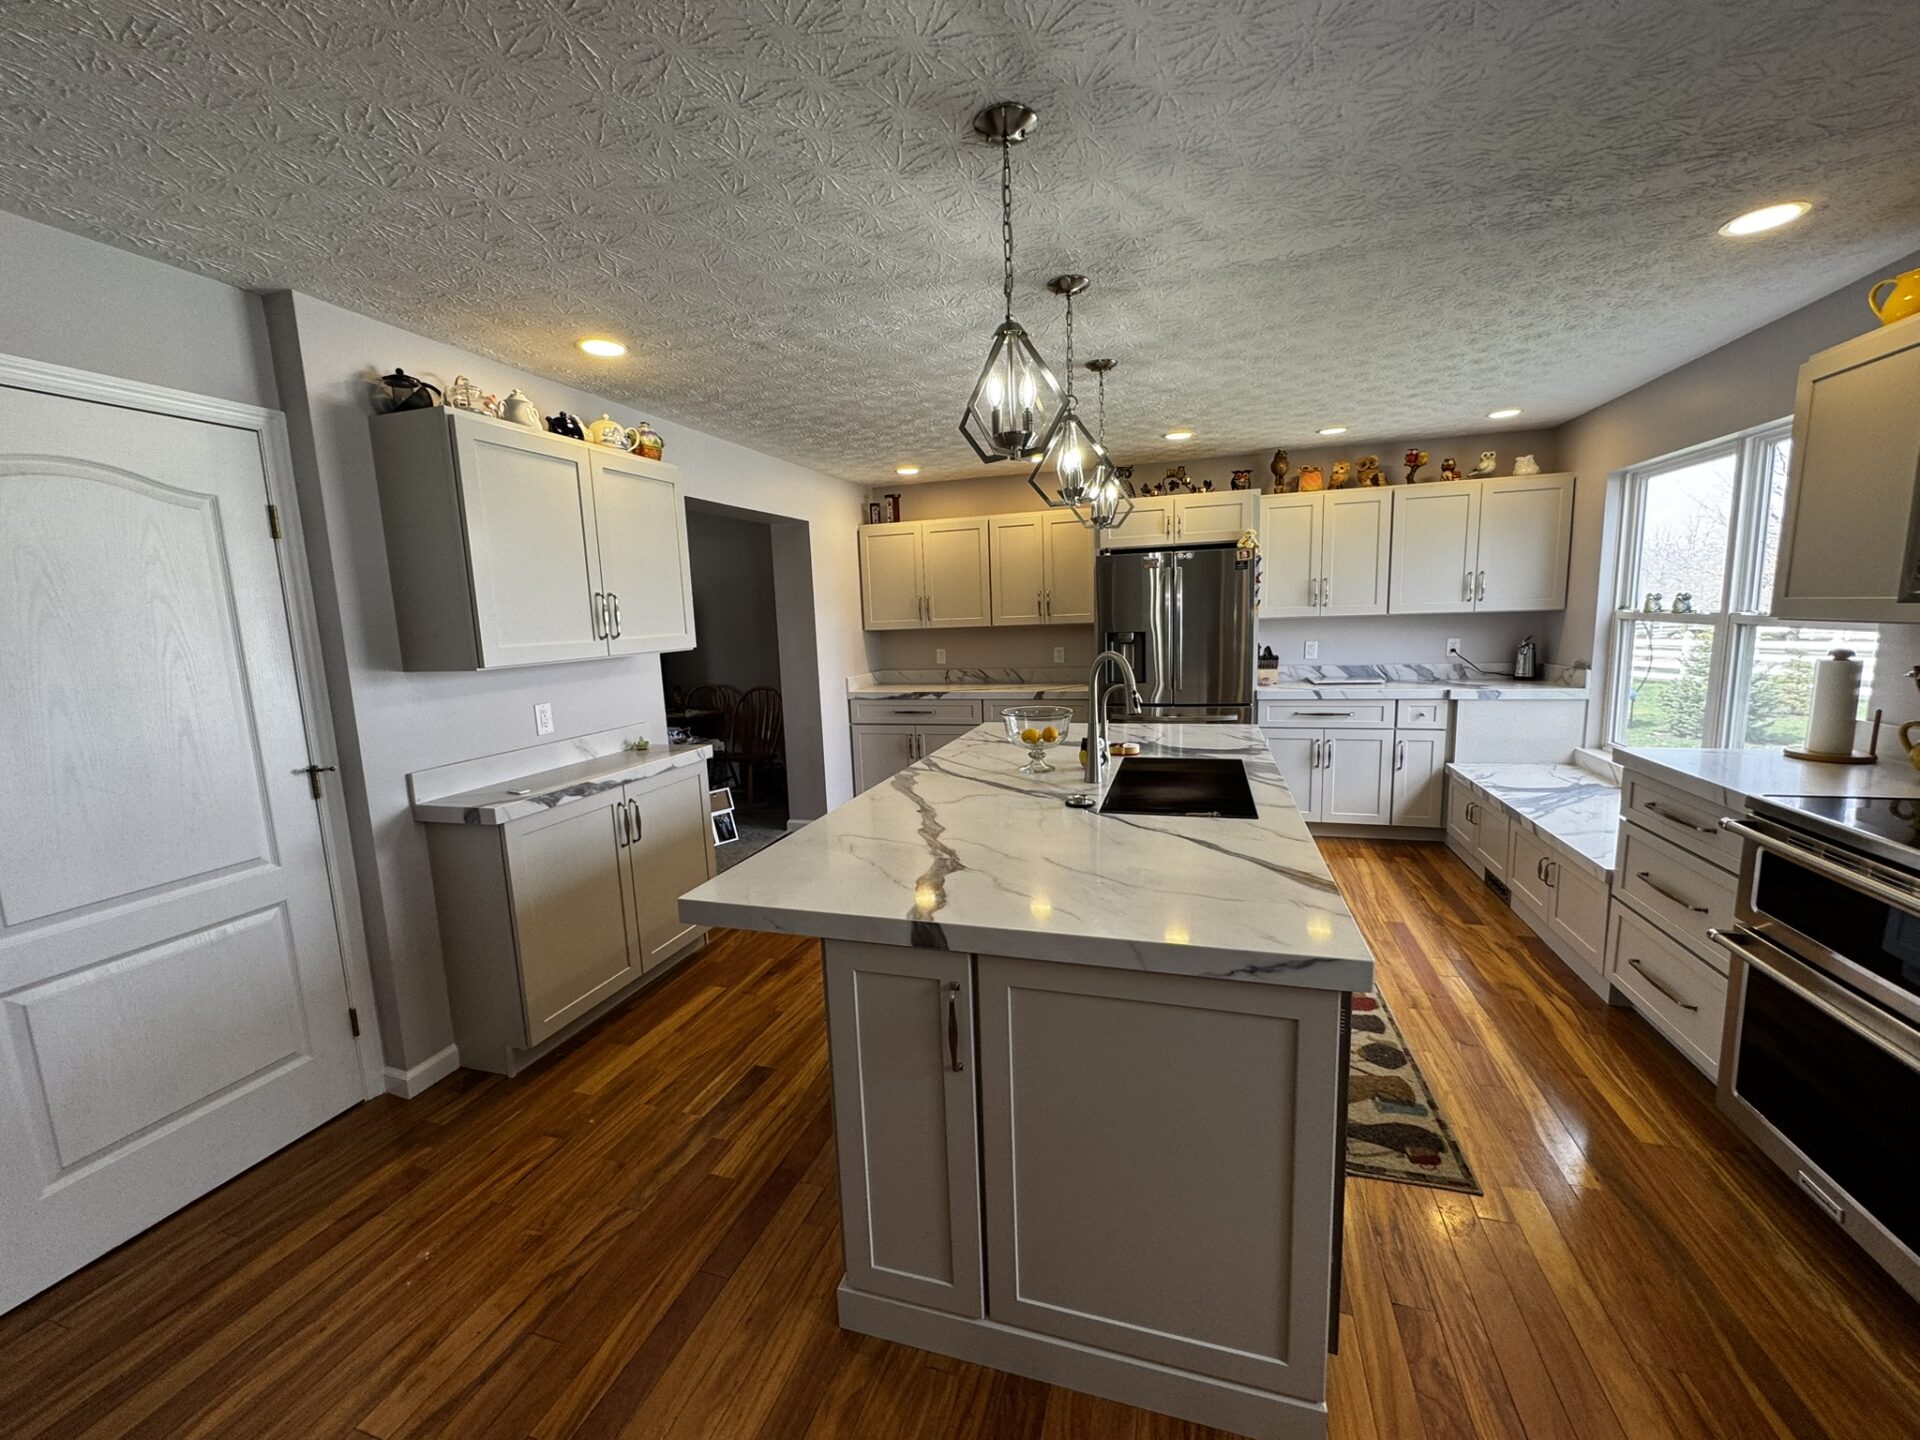
Week 5/6: Quartz tops were installed and plumbing/electrical got wrapped up, and final inspections were scheduled. Painting wrapped up and the final punch list was addressed. The refrigerator and microwave were kept functional for the duration of the project. The stove was kept functional for as long as possible, but it was down and not usable for a few days (about 4 days).
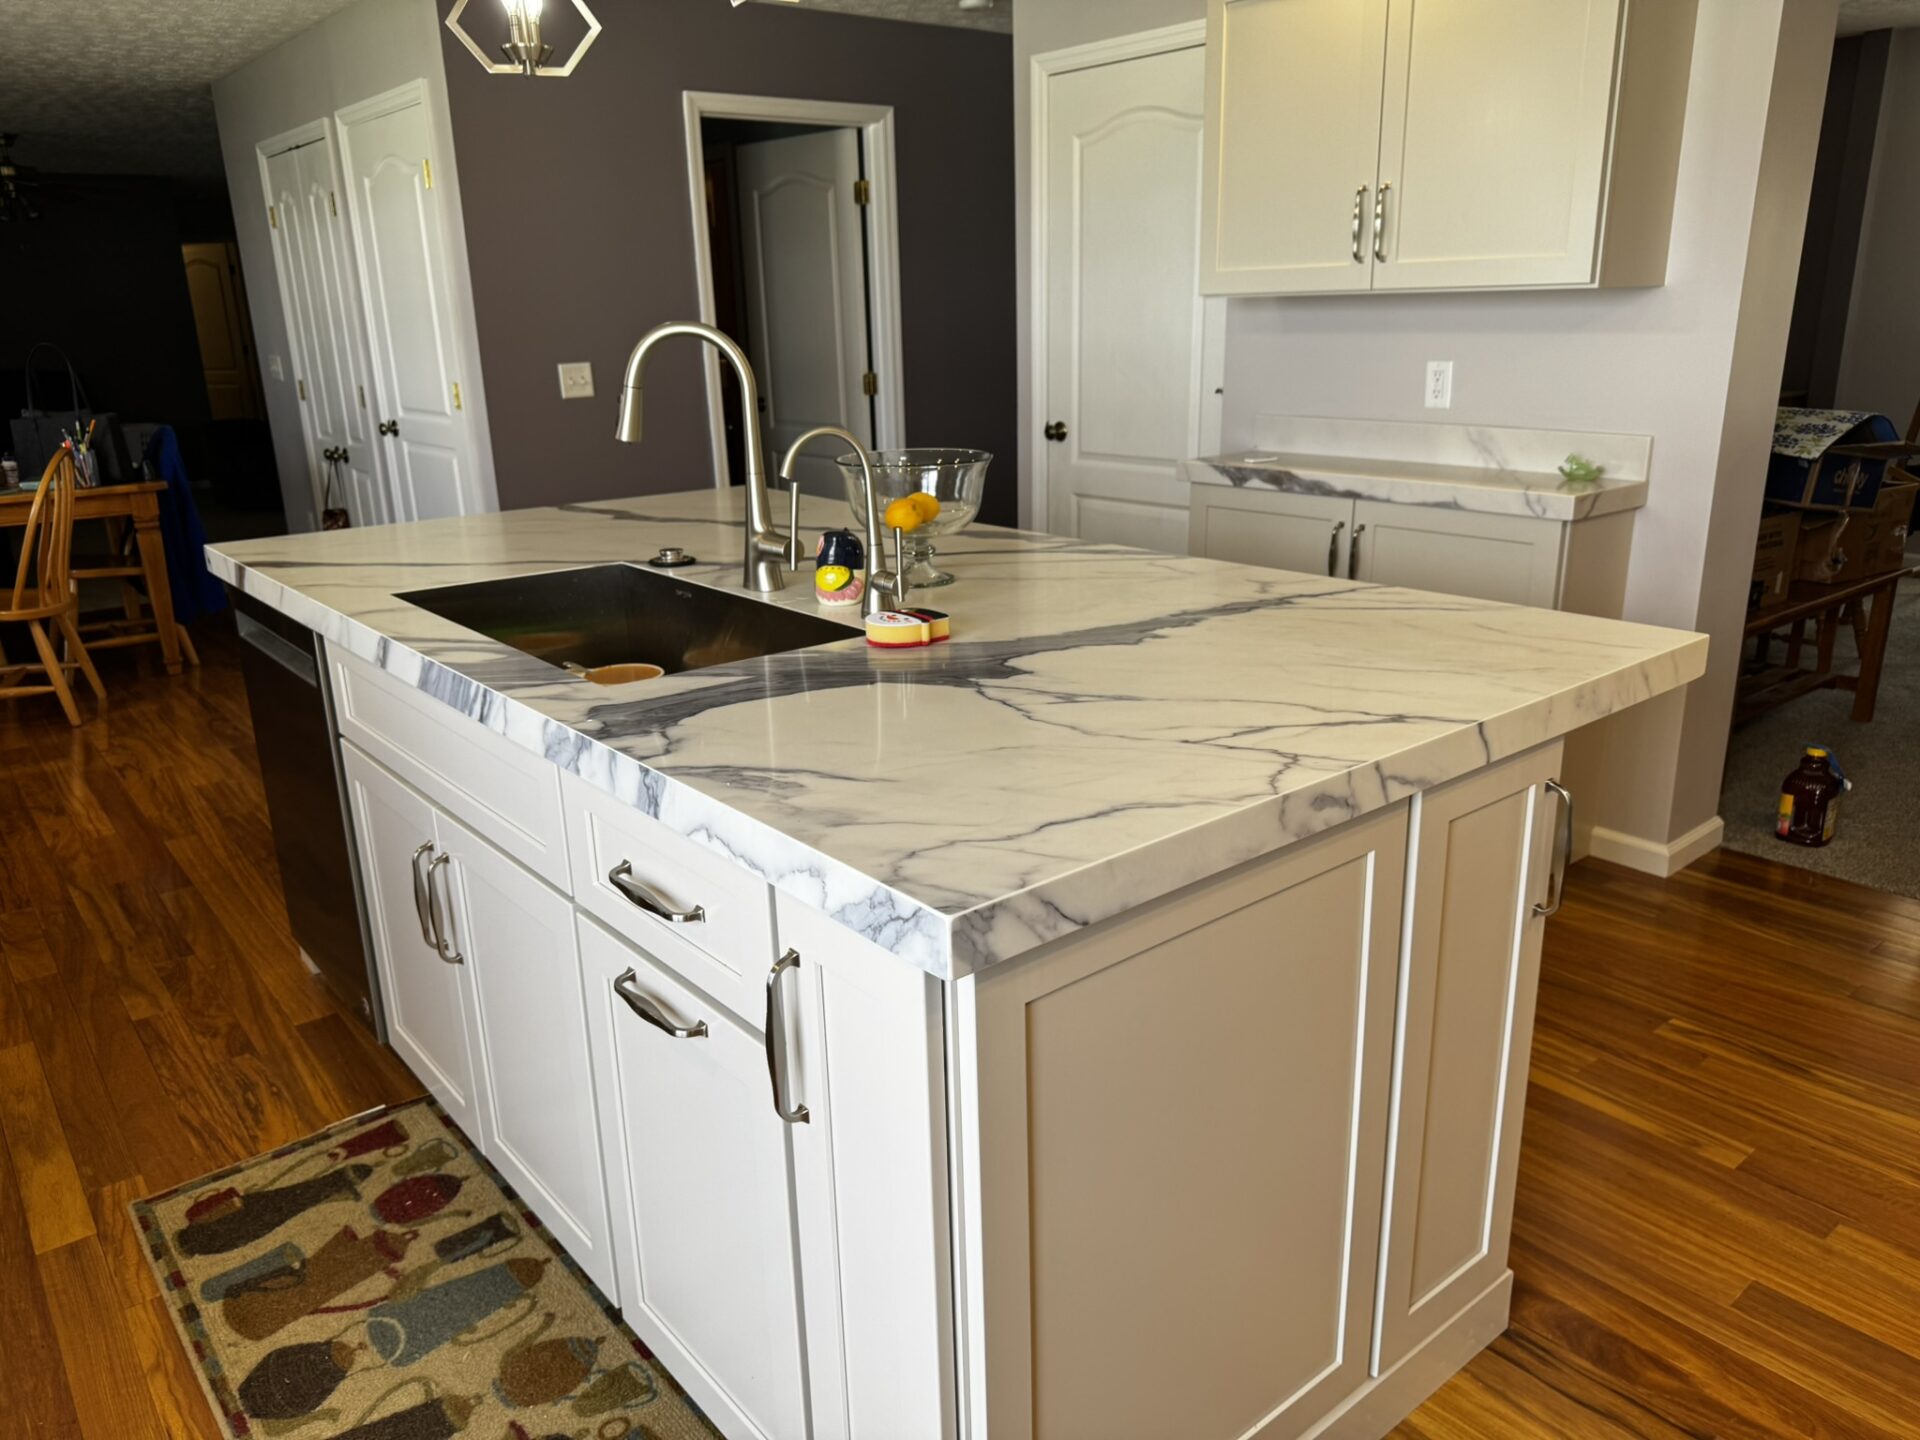
The island was design to serve several functions. (1) As a work/prep station. (2) A storage area for baking goods. (3) A gathering point for company.
The sink was moved from under the window to the island. There is space for seating on the back side of the island. The island has several “cookie” sheet cabinets and storage on the backside.
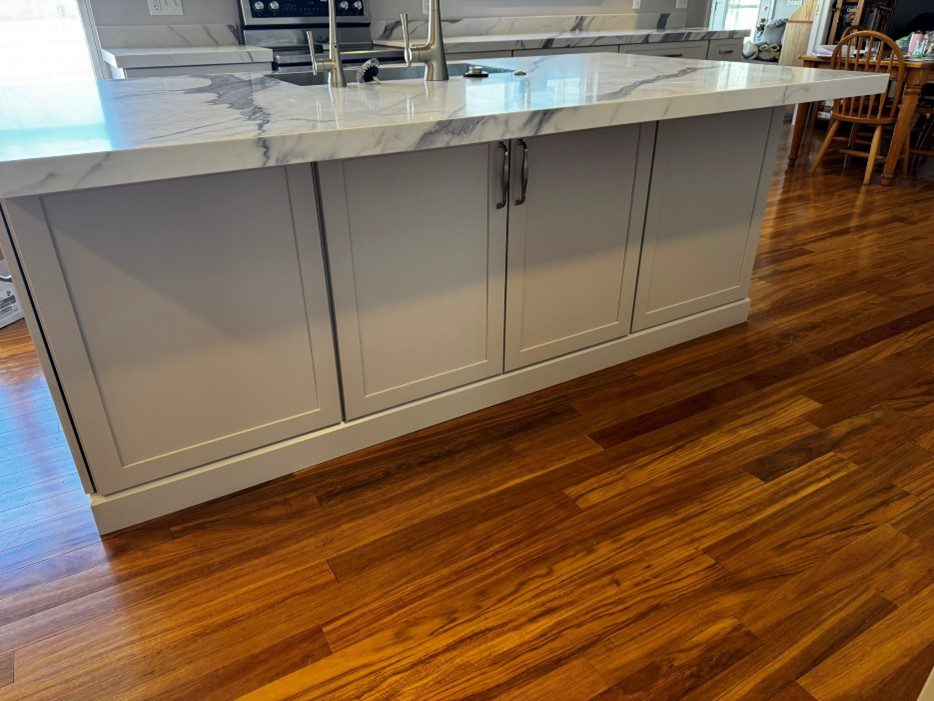
To the right of the sink is a “waste bin” cabinet, with the bins attached to the door. Another interesting option the homeowner opted for was the mitre edge on the countertops. This is a very nice look, it adds roughly ½” in thickness of the tops. You can see it throughout on all the countertops in this project.
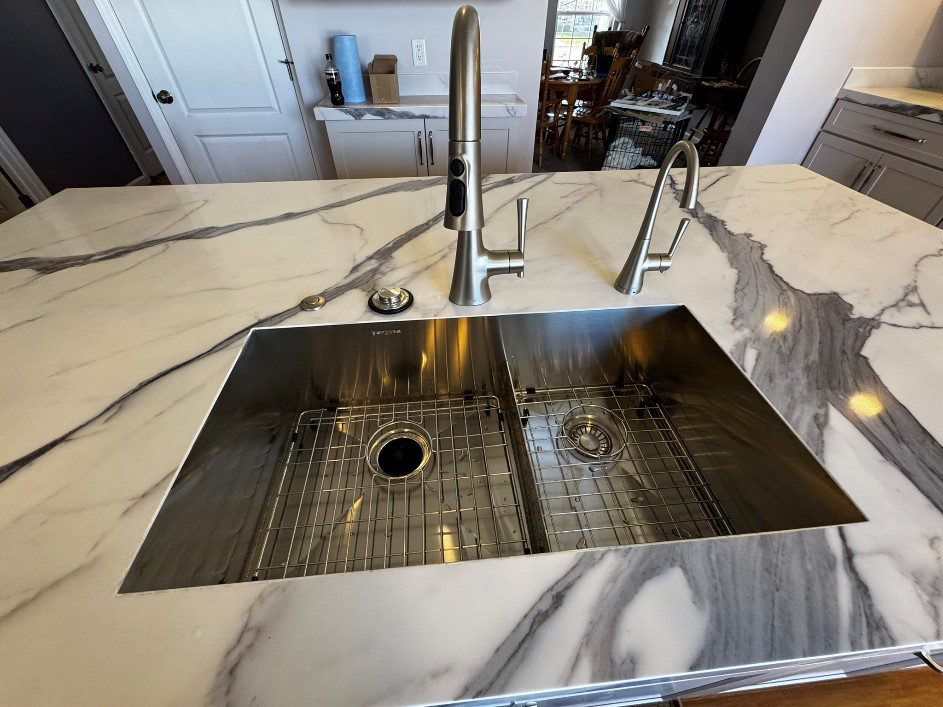
The sink utilized isn’t a standard undermount sink. It has a rail that trims out the quartz where the sink cut out is. It creates a nice transition between the sink and the top.
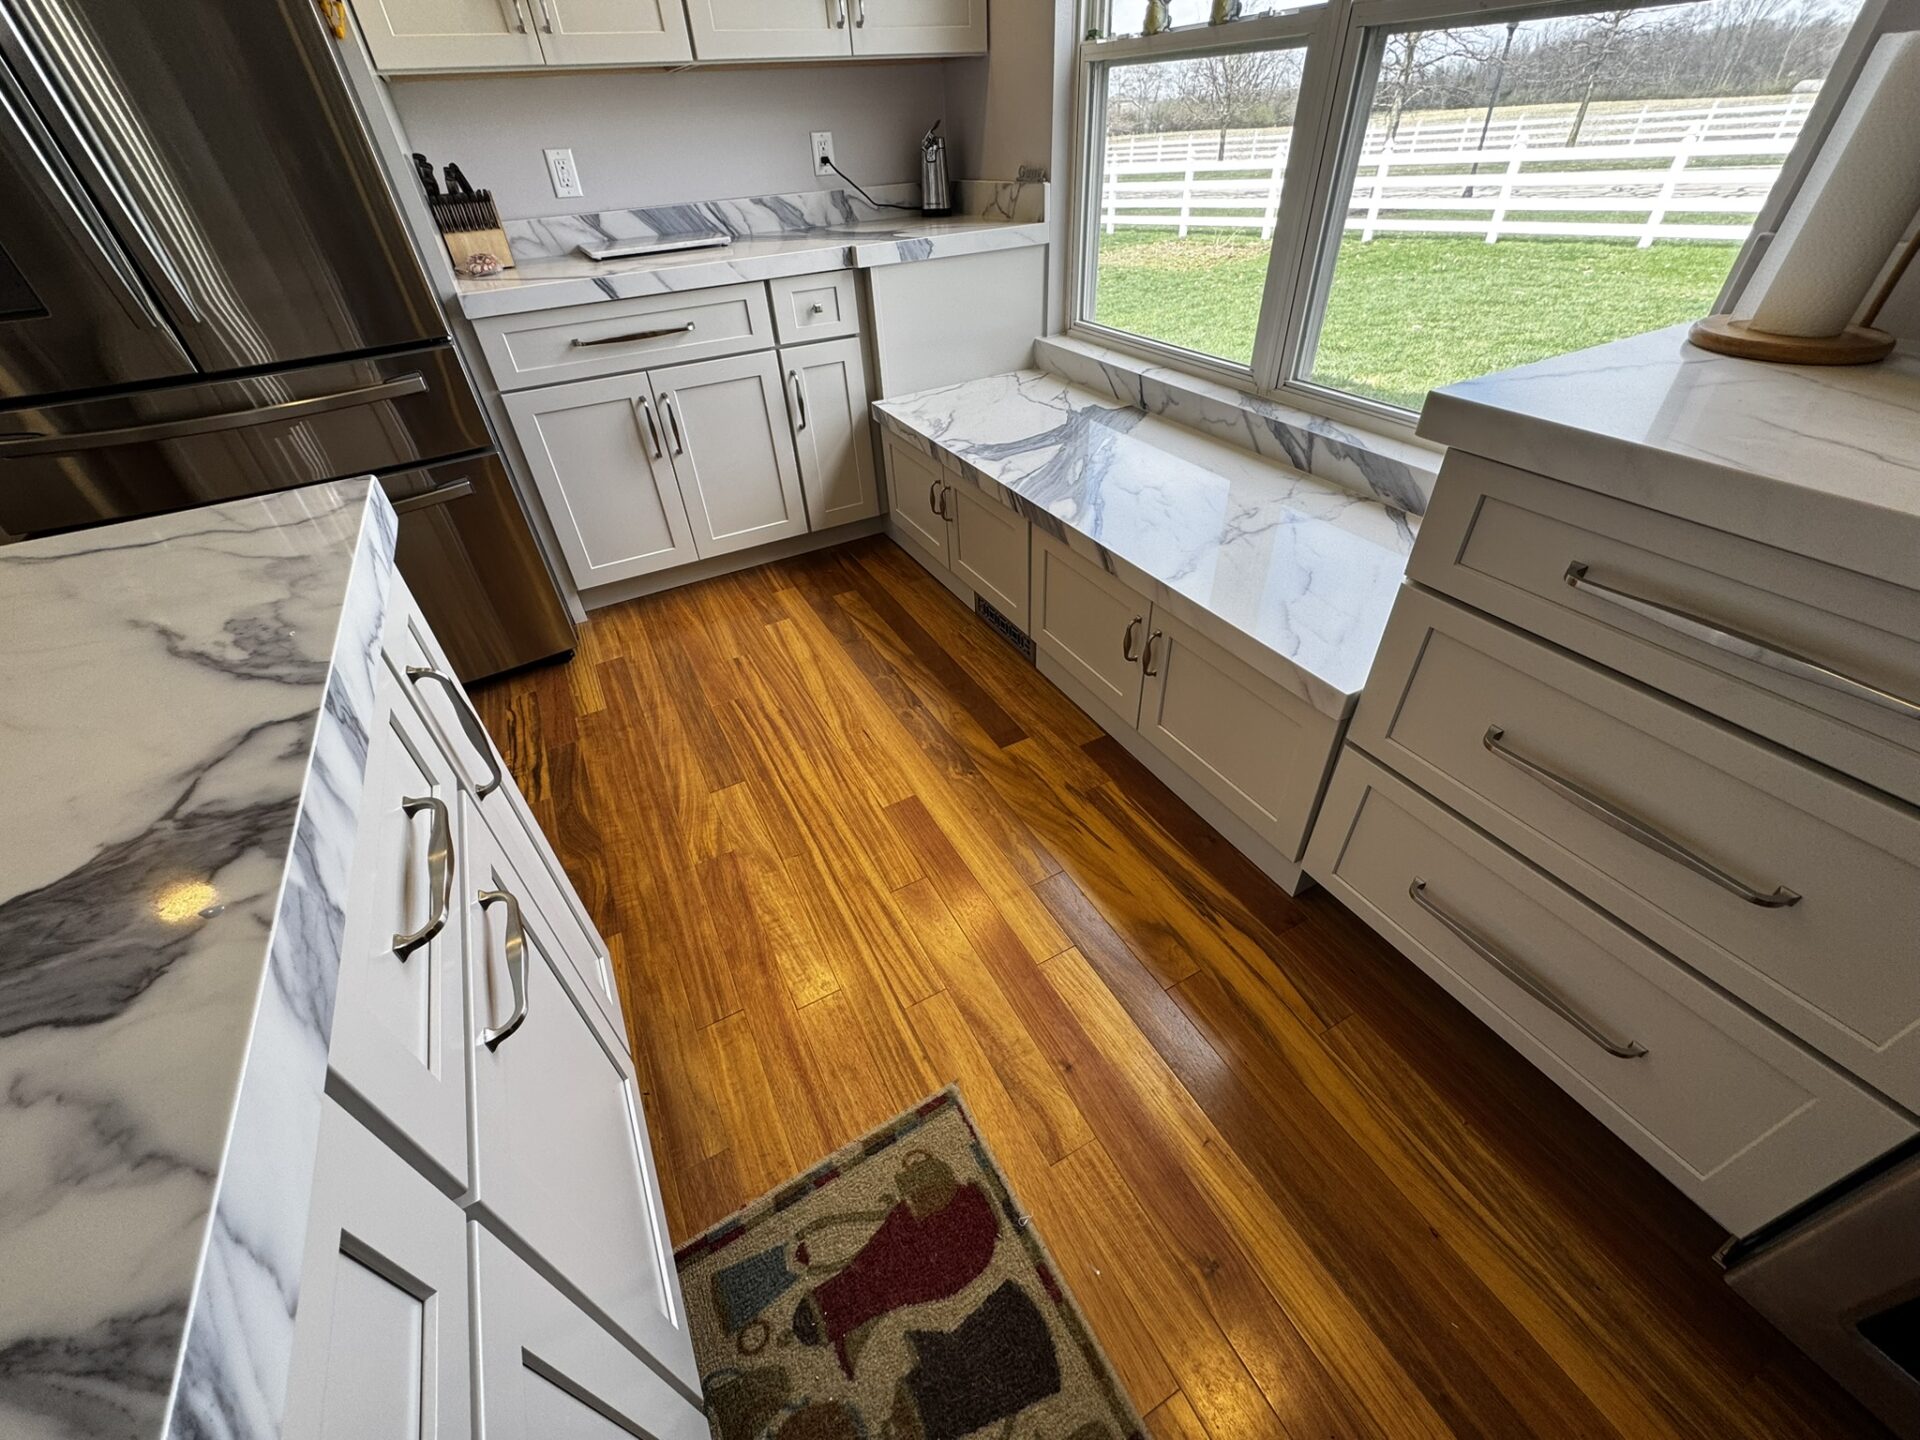
There is a window in the original dining room and instead of removing the window or modifying it (which kept us from getting into the exterior of the house) we decided to incorporate it into the design. Since the homeowner has a very large family and every tend to gather in the kitchen we used “mud-room” cabinets and create a seating area below the window.
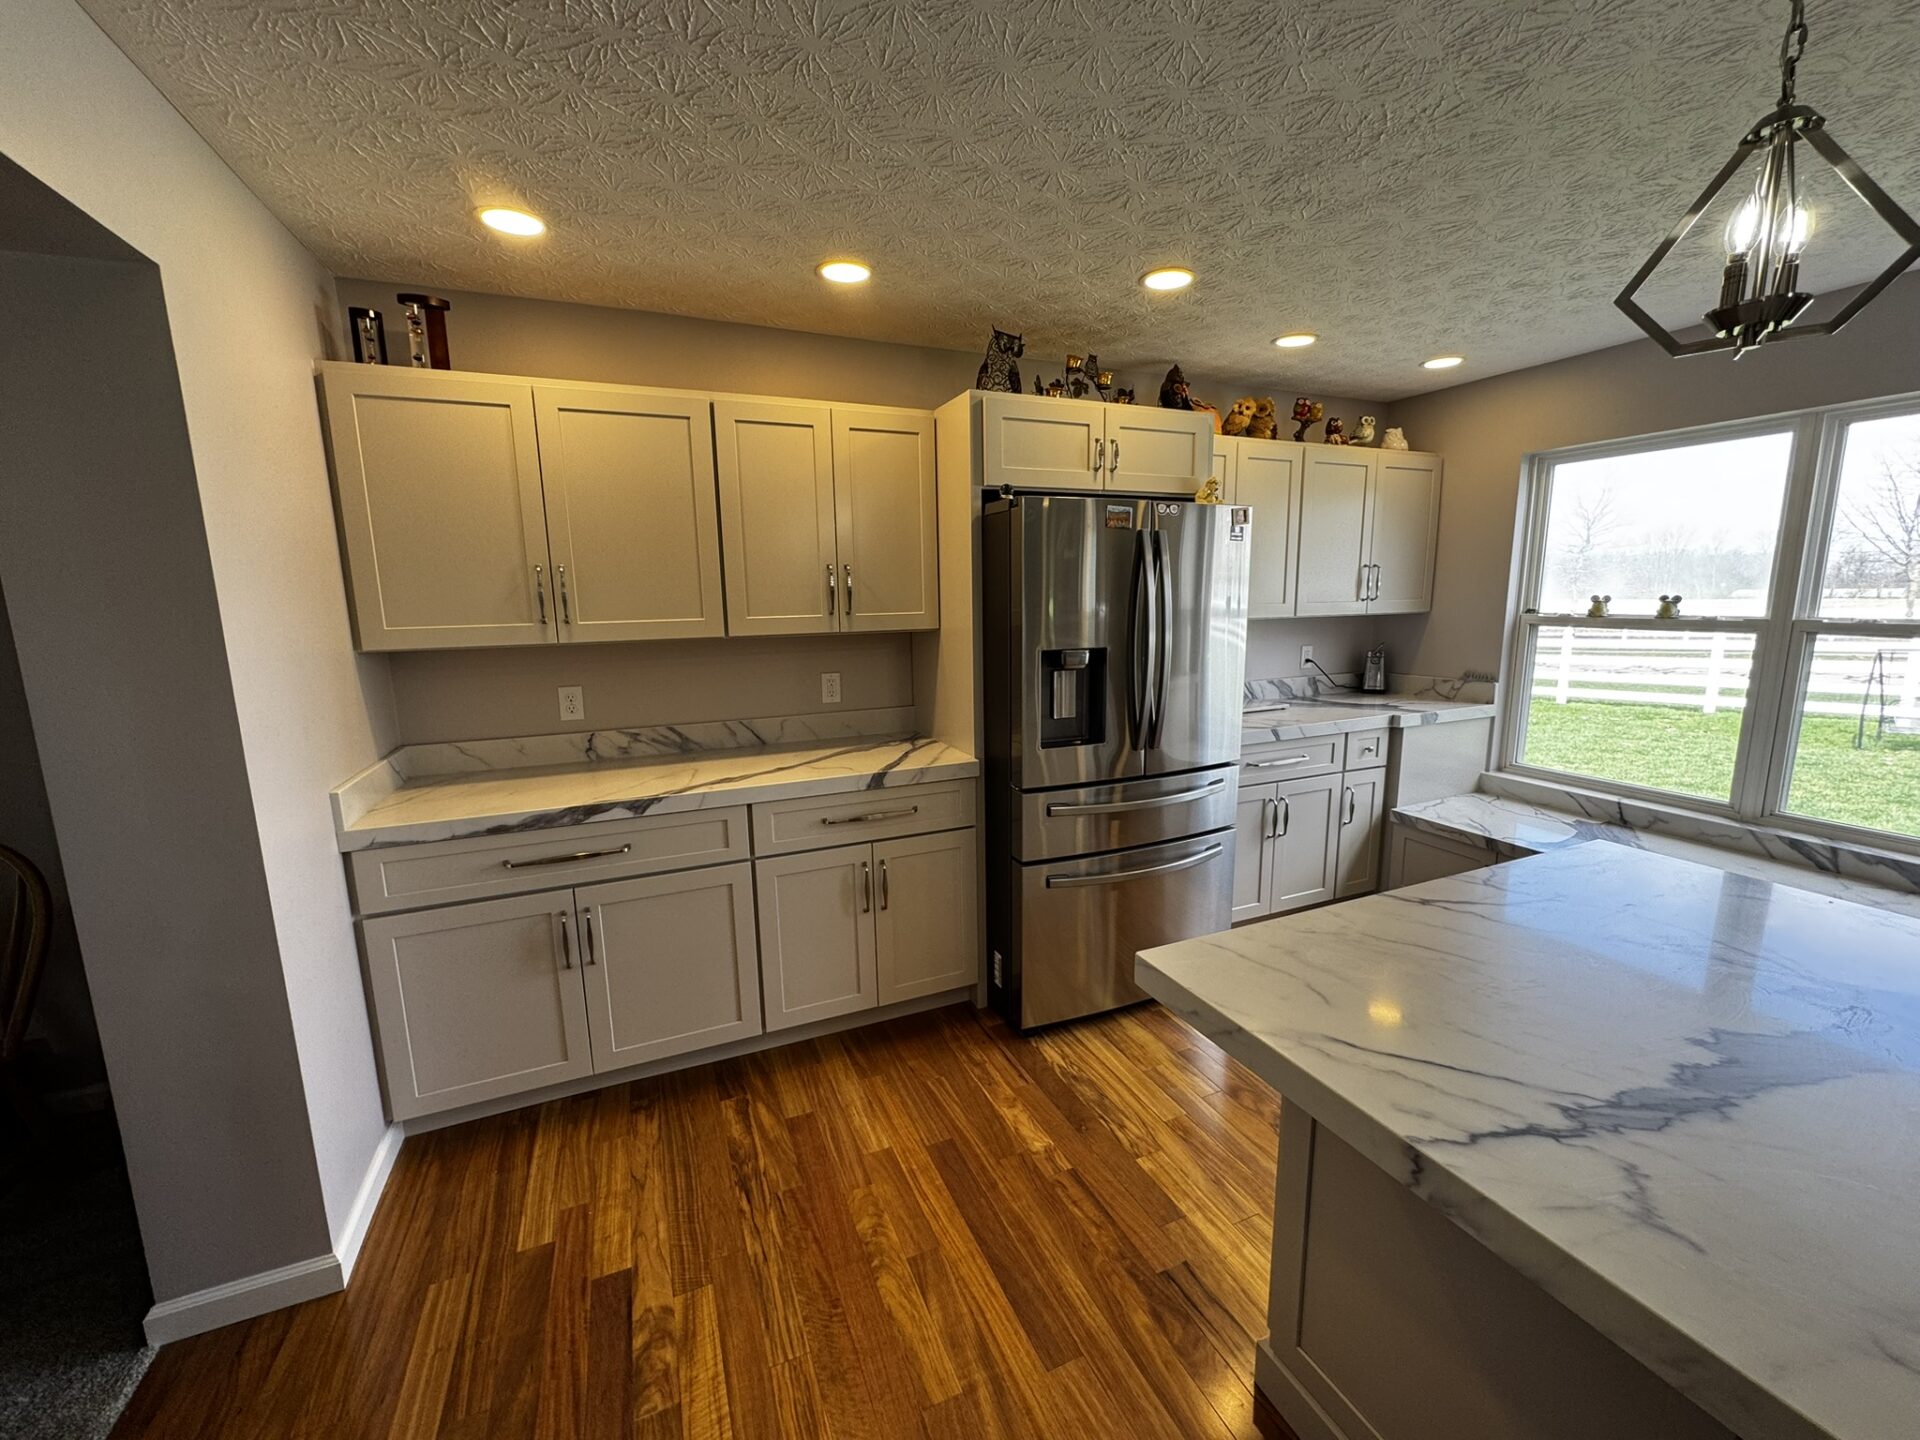
LED wafer lights were installed throughout the kitchen and pendant lights were installed above the island. We also installed undercabinet lighting throughout. All lighting was put un dimmers.
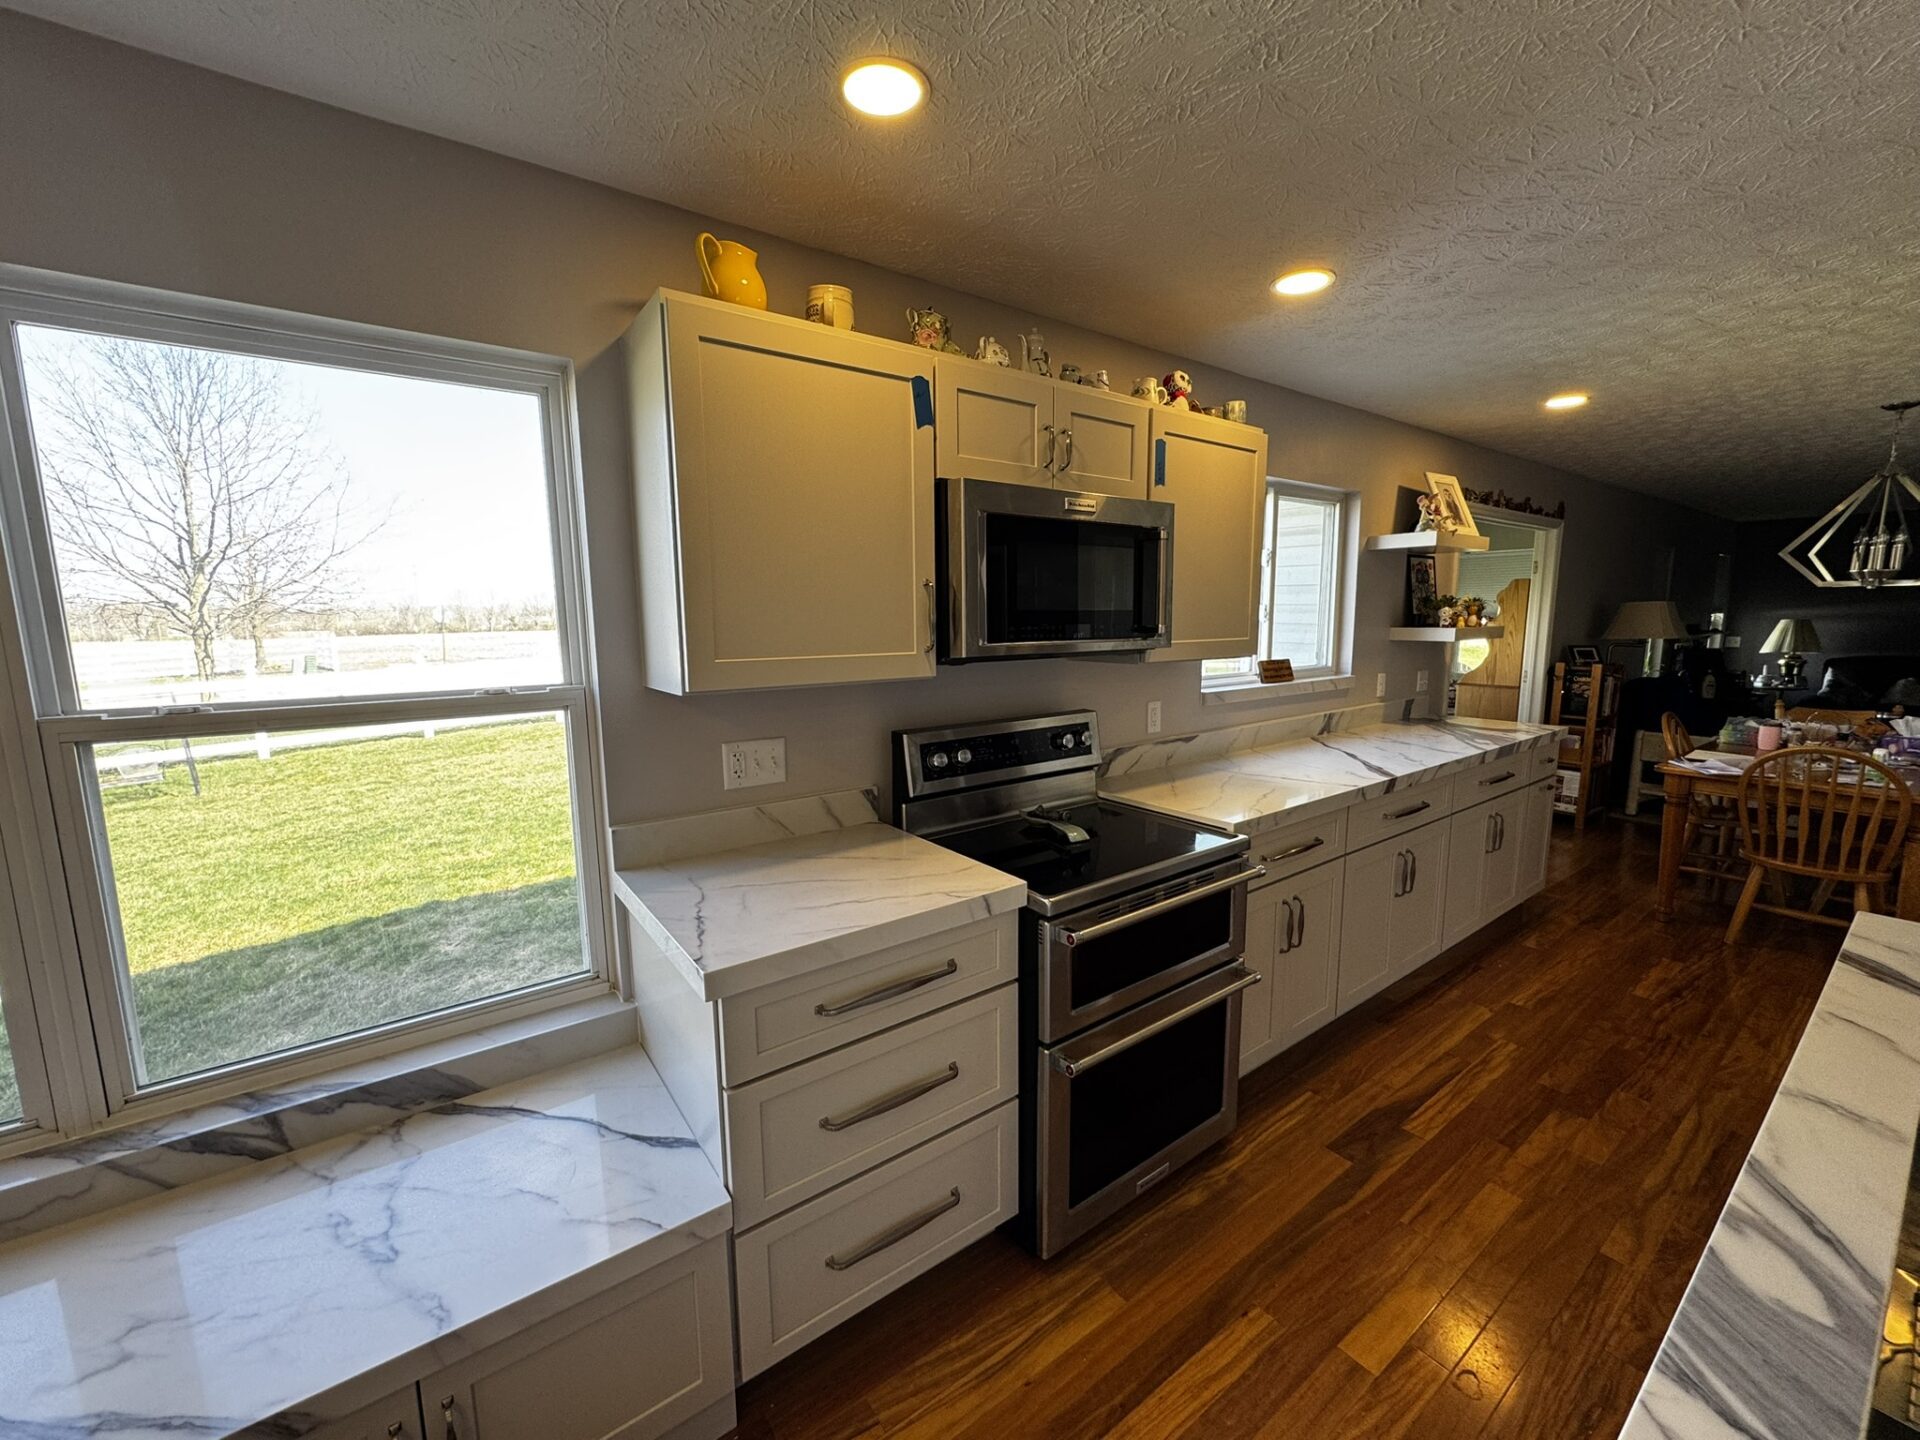
The stove was moved to the outside wall and a new microwave was installed.
As I said in the beginning we used several subcontractors, all of which did a great job. They all understood the importance of the timeline and the need for promptness when it came to completing the work and getting inspections off. This is the list of contractors and vendors we used on this project:
- MCL Electric
- Massey Creek Plumbing
- American Painters
- Floor-co flooring
- AE Aure Systems (flooring installation through Floor-co)
- Stone Center of Dayton

